Did you know that the poultry industry is projected to reach a global valuation of over $400 billion by 2030? Yet, despite this massive financial potential, approximately 30% of new poultry ventures collapse within their first year due to poor structural planning and inefficient resource allocation. Many aspiring farmers jump into the business with birds and feed but lack the architectural and financial foundation required to sustain a living, breathing production line.
The Challenge is often “Underestimation Syndrome”—underestimating the space required for ventilation, the rising cost of automated equipment, and the strict biosecurity measures needed to prevent flock-wide illness. The Main Concept of a successful launch is Strategic Infrastructure Alignment: ensuring your physical setup matches your production goals from day one. This article provides a comprehensive roadmap of the essential costs, spatial requirements, and technical equipment you need to transform a plot of land into a high-yielding poultry enterprise in 2026.
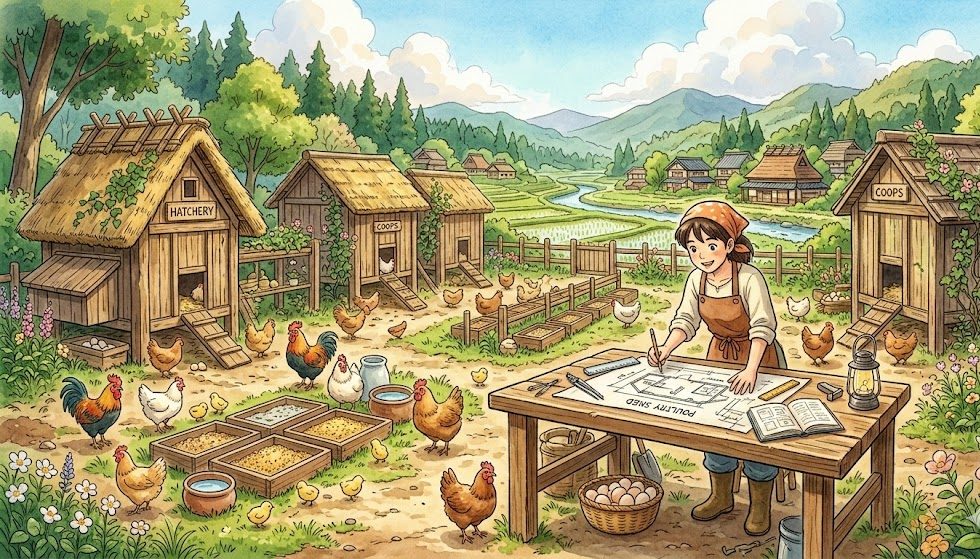
Understanding Poultry Farm Setup: Key Concepts and Importance
Setting up a poultry farm is not merely about building a shed; it is about creating a controlled micro-climate. Historically, poultry farming relied on natural ambient conditions, but modern farming in 2026 utilizes precision engineering to maximize bird comfort and growth rates. Whether you are raising broilers (for meat) or layers (for eggs), the fundamentals of your setup remain the same: ventilation, light control, and waste management.
Think of a poultry house like a commercial airliner’s cabin. For the “passengers” (your birds) to remain healthy and productive at high densities, the system must constantly exchange stale air for fresh oxygen, maintain a steady temperature, and provide “in-flight” meals (automated feeding) without interruption. If the life-support system fails, the biological cost is immediate. Modern relevance lies in the move toward Environmentally Controlled (EC) Housing, which uses sensors to manage curtains and fans, removing human error from the equation and significantly boosting the Feed Conversion Ratio (FCR).
Why It Matters: The Top Benefits of a Professional Setup
A well-planned poultry setup is the difference between a struggling hobby and a scalable business. Investing in a professional-grade infrastructure offers several key advantages:
- Superior Biosecurity: A professional layout separates “dirty” areas (waste/loading) from “clean” areas (bird housing), drastically reducing the entry points for pathogens like Avian Influenza.
- Optimized Feed Conversion: When birds aren’t fighting extreme cold or heat, they direct 100% of their caloric intake toward growth or egg production rather than body temperature regulation.
- Labor Efficiency: Automated feeding and watering systems can reduce labor requirements by up to 60%, allowing a single manager to oversee thousands of birds with ease.
- Scalability: A modular setup designed with future expansion in mind prevents the need for expensive “tear-down” renovations as your market demand grows.
Pro Fact: In 2026, farms utilizing automated climate sensors report a 12% decrease in mortality rates compared to traditional open-sided housing systems.
How to Get Started: A Practical Guide for Beginners
Launching your farm requires balancing three pillars: Space, Equipment, and Capital. Follow this 5-step implementation plan.
1. Calculate Your Spatial Needs
Space requirements depend on your bird type. As a general rule:
- Broilers: 1 square foot per bird.
- Layers (Floor System): 2 square feet per bird.
- Layers (Cage System): 0.5 to 0.75 square feet per bird. Always include an additional 20% “buffer space” for storage, walkways, and a biosecurity “changing room” at the entrance.
2. Estimate the Startup Cost
A small-to-medium scale setup (1,000 birds) typically requires an investment of $5,000 to $15,000, depending on your location and level of automation. This includes:
- Construction: 50% of budget.
- Equipment: 30% of budget.
- Initial Stock & Feed: 20% of budget.
3. Select Essential Equipment
You cannot compromise on the following tools:
- Automatic Drinkers: Nipple drinkers are preferred to prevent water spillage and damp litter.
- Feeders: Tube or hanging feeders to minimize waste.
- Brooding Heaters: Gas hovers or infrared lamps for the critical first 14 days.
- Ventilation Fans: Exhaust fans to remove ammonia and CO2.
4. Site Orientation and Construction
Build your house in an East-to-West orientation. This prevents the hot afternoon sun from shining directly into the house, which can cause mass mortality from heat stress. Ensure the floor is concrete for easy disinfection between batches.
5. Establish a Waste Management Plan
Decide how you will handle poultry litter. In 2026, many farms are installing small-scale biogas digesters or composting pits to turn waste into revenue or energy for the farm.
Beginner’s Tip: Don’t buy “used” equipment from an unknown source. Many poultry diseases can survive on surfaces for months. If you do buy used, dedicate a full week to chemical disinfection before the equipment touches your farm.
Overcoming Challenges and Looking into the Future
The primary hurdle for beginners is High Utility Costs, specifically electricity for fans and heat. To solve this, 2026 trends are leaning toward Solar-Powered Poultry Houses, using roof-mounted panels to run ventilation systems, which significantly lowers operational overhead. Another challenge is the rising cost of construction materials; many farmers are now using Pre-Engineered Metal Buildings (PEB) which are faster to assemble and easier to sanitize than wood.
Looking ahead, the future is IoT (Internet of Things) Farming. We are seeing the rise of “Smart Coops” where you can monitor water consumption and temperature from a smartphone app. Sudden drops in water intake often act as an “Early Warning System” for disease, allowing you to treat the flock 48 hours before physical symptoms appear.
Conclusion
Setting up a poultry farm in 2026 is an exercise in precision. By respecting the spatial needs of your birds, investing in high-quality automated equipment, and planning for a realistic startup cost, you build a foundation that can weather any market volatility. Poultry farming is no longer just a “numbers game”—it is a technology game where the most efficient setup always wins.
Your Next Step: Measure your available land today and draft a simple blueprint using the East-West orientation rule. Once you have your dimensions, contact three local equipment suppliers to compare quotes on automated watering systems.
Frequently Asked Questions (FAQs)
1. Which is cheaper to set up: Broilers or Layers?
Broilers have a lower initial equipment cost because you don’t need nesting boxes or egg-collection systems. However, layers provide more long-term financial stability despite the higher upfront investment in housing.
2. Do I really need concrete floors?
While dirt floors are cheaper, concrete is highly recommended. Dirt floors harbor parasites and bacteria that are almost impossible to eliminate, leading to recurring disease cycles that will cost you more than the concrete in the long run.
3. How much water does a poultry farm need?
On average, 1,000 chickens will drink approximately 150 to 250 liters per day, depending on the temperature. You must have a reliable well or municipal source and a backup storage tank that can hold at least 2 days’ worth of water.
4. Is automation worth it for a small farm?
Yes. Even for 500 birds, automated nipple drinkers are worth the investment. They prevent “damp litter,” which is the leading cause of Coccidiosis and ammonia respiratory issues in young birds.